
7 Exterior Renovation Mistakes That Cost UK Homeowners Money
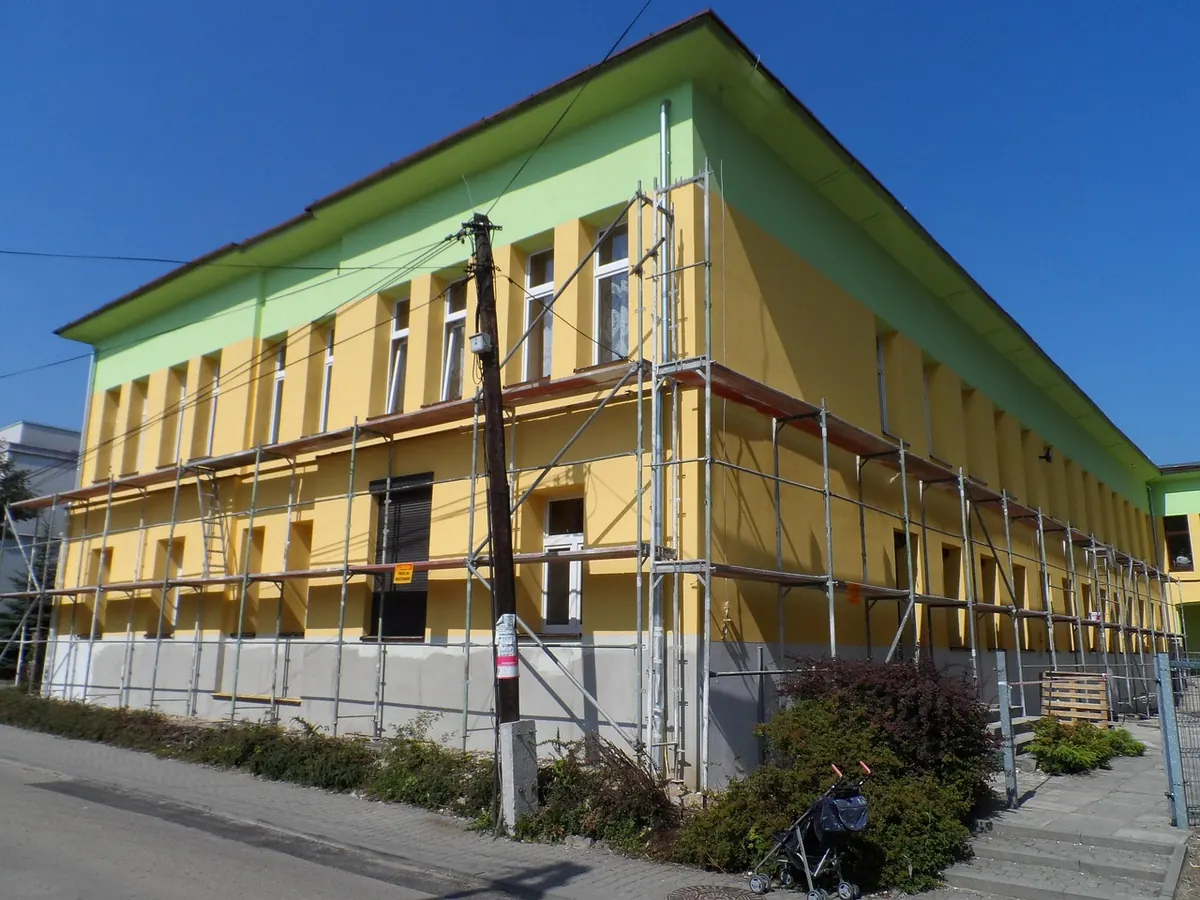
An exterior renovation rarely goes wrong in one dramatic moment. It goes wrong slowly: a vent covered over, a quote accepted because it was the lowest, a wall rendered before the damp was sorted. By the time the problem shows, the scaffold is long gone and the person who did the work has stopped answering the phone. These are the mistakes that crop up most often, and what each one usually takes to put right.
1. Assuming you don't need permission
Permitted development rights cover a lot of external work in England, but they disappear in conservation areas, on listed buildings and anywhere the council has an Article 4 direction in place. Scotland, Wales and Northern Ireland each work to their own rules. Add leasehold covenants, restrictive conditions in the deeds and party wall obligations on shared walls, and a straightforward job can suddenly need paperwork.
Put your question to the local planning authority in writing and keep the reply. If a neighbour objects later, or you come to sell, a written answer is worth far more than a phone conversation. Retrospective applications, enforcement action or taking finished work down all cost considerably more than the check would have. For anything structural or legally complicated, speak to a planning consultant or solicitor before you order materials.
2. Sealing up ventilation
Air bricks, weep holes, eaves vents and roof-space ventilation exist for a reason, and they are easy to bury under new insulation, cladding or render. The classic is external wall insulation installed straight over sub-floor air bricks, cutting off the airflow beneath a suspended timber floor.
The result rarely appears immediately. A season or two of cold weather brings condensation, damp patches on internal walls, mould in corners and, in bad cases, rotten floor timbers. Putting it right means cutting vents through the finished surface, fitting sleeves that maintain the cavity, and lifting floors to replace anything that has rotted. That is a great deal more work than leaving the vents clear in the first place.
3. Hiring on price alone
A cheap quote is often cheap because something has been left out: scaffolding, waste removal, preparation, or the insurance. Ask every trader for the same information, so you can compare like with like.
- An itemised written quote, not a verbal estimate
- Public liability insurance, and employer's liability cover if they use subcontractors
- Who pays for the skip, and where the waste goes
- What preparation is included — jet washing, fungicidal wash, repairs to blown render
- A payment schedule linked to stages, with a modest deposit rather than a large upfront sum
When it goes wrong, the cost isn't just the original price. It's stripping the failed work, paying someone else to do it properly, and possibly pursuing a company that has since been dissolved. Recommendations from neighbours, photographs of previous jobs and a short written contract cost nothing and prevent most of this.
4. Painting or rendering over a problem
Fresh masonry paint hides a lot for about six months. Trapped damp, blown render, crumbling pointing and unstable substrates will push the new finish off, and a waterproof coating over a damp wall makes things worse by stopping moisture escaping outwards.
Test before you cover. Tap the render for hollow patches, check for a damp smell or tide marks at skirting level indoors, and look at the base of the wall after heavy rain. If the wall is damp, find out why — failed guttering, cracked render, a bridged damp-proof course, raised ground — and fix that first. Stripping and re-rendering a facade that should never have been coated is one of the most expensive corrections on this list, and it is entirely avoidable.
5. Getting ground levels and drainage wrong
New patios, block paving, decking and raised planting beds are often built up to a convenient height, which puts them above the damp-proof course. Water then bridges the DPC and finds its way inside. The same happens when a downpipe discharges into a broken gully, or a soakaway sits too close to the wall.
Keep external surfaces below the DPC wherever you can, and make sure everything falls away from the building rather than towards it. Repair blocked gullies and leaking joints before laying paving over them. Correcting levels later means lifting and relaying the whole patio, plus dealing with whatever damp and timber damage has built up behind it in the meantime.
6. Choosing materials on looks alone
Materials have to suit the building, not just the mood board. Cement-based render on an old solid wall can trap moisture the wall previously released; soft bricks and lime mortar need breathable finishes; new cladding needs a support system and detailing that keeps water out. Sealants, adhesives and paints from different systems don't always work together, and the cheapest version of a product tends to be the one that fails first.
Ask the manufacturer for the full system — primer, render, mesh, fixings, finish — and stick to it. Check how the wall needs to breathe, the minimum application temperature, and whether the product suits an exposed or coastal site. A small saving on materials can lead to a complete strip and redo within a few years.
7. Working in the wrong order, or the wrong season
Scaffolding is hired, so there's pressure to fill it with work. That's fine if the sequence is right: water and drainage first, structural repairs next, then ventilation, then insulation and render or cladding, then windows and doors, then decoration. Get it wrong and you'll be putting fresh finishes around a leaking gutter, or installing windows only to discover the reveal needs rebuilding.
Weather matters too. Render, pointing and most exterior paints need a reasonable temperature and a dry spell to cure properly. Starting a large render job in late autumn, with frost forecast, is an expensive gamble on a finish that may not last the winter.
A sensible order of work
Most of the mistakes above come from rushing an early stage, and nearly all of them are cheaper to prevent than to correct.
- Investigate: water, damp, cracks, movement, ventilation. Bring in a surveyor or structural engineer if you're unsure.
- Check: planning, building regulations, covenants and party wall matters. Get answers in writing.
- Quote: three comparable, itemised quotes, with insurance details and a written contract.
- Repair: guttering, drainage, ground levels, pointing and structural defects.
- Upgrade: insulation, cladding, render, windows and doors, keeping vents clear throughout.
- Finish: decoration and sealants, applied in suitable weather.
Diagnose before you decorate, hire on more than price, and let the building breathe. It won't make an exterior renovation cheap, but it should stop you paying for the same job twice.
Photo: marcin049 / Pixabay